By Zapin MNL Style DeskPublished 6–8 minute read
A bright midsole can make the complete shoe look cleaner, but the treatment must stay away from printed fabric, coatings, seams and adhesive joins unless exact instructions say otherwise.
Identify the materials, protect the upper, begin dry, test a small area and use the least moisture and friction that solves the mark.
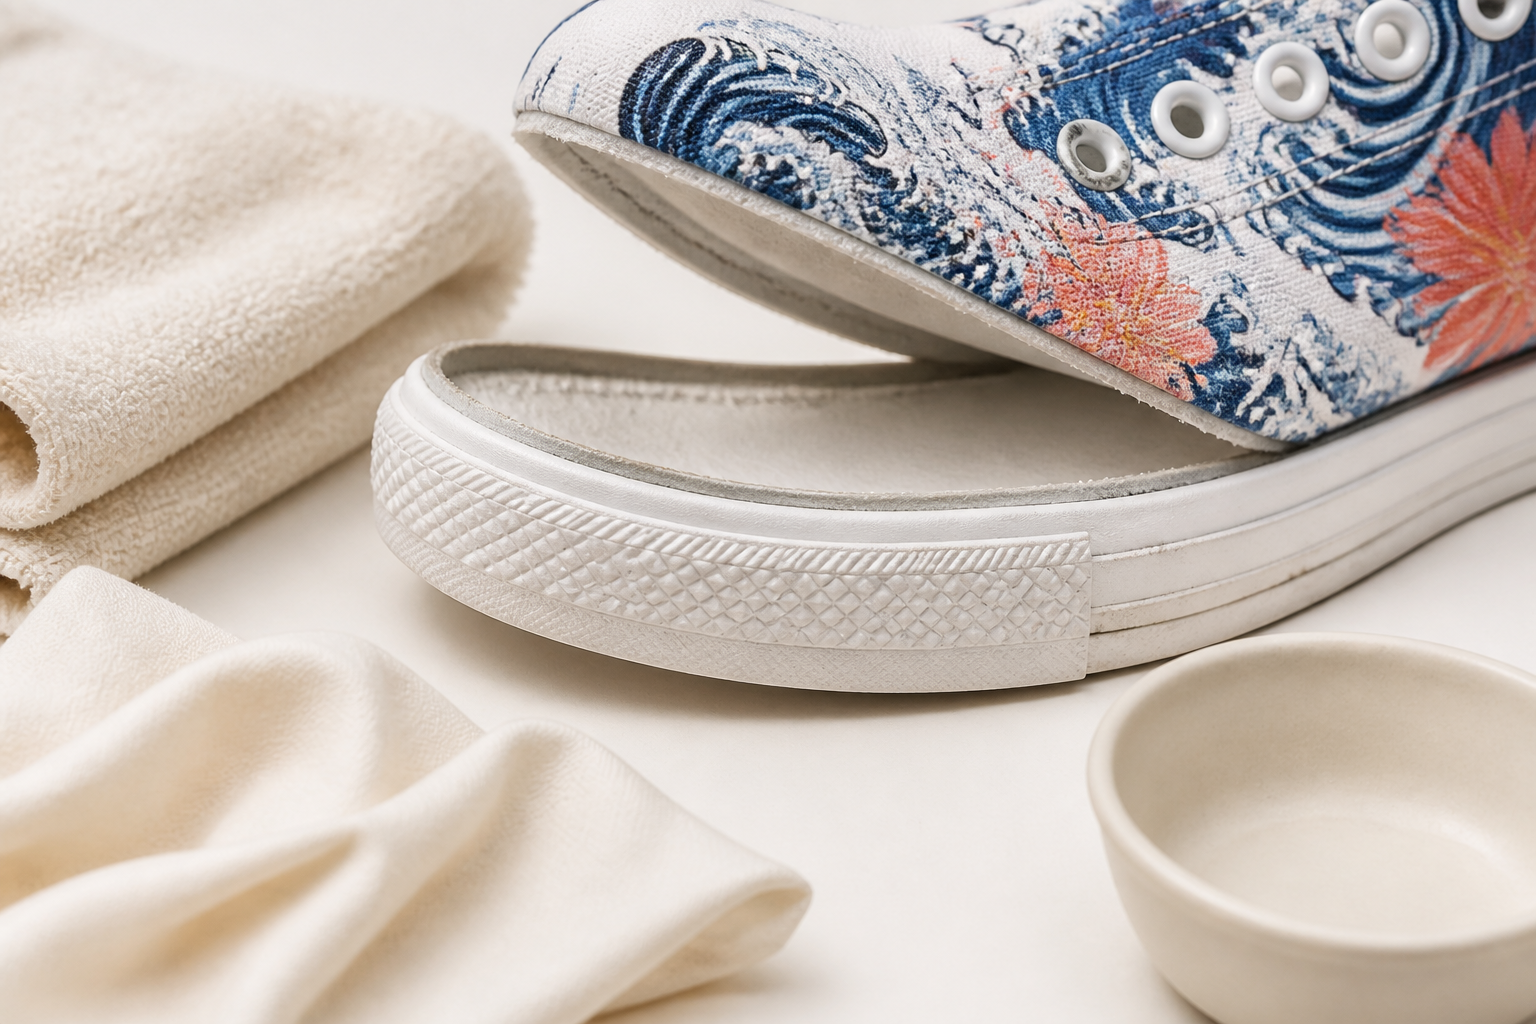
Map the cleaning boundary
Footwear material labels distinguish the upper, lining and insole, and outer sole. Use available material information to understand that one shoe contains several surfaces rather than applying one cleaner everywhere.(European Commission footwear labelling guide)
Inspect where the white sidewall meets the print, stitching and adhesive. If the “midsole” is painted, textured or decorated, product-specific instructions become even more important.
Remove dry particles first
Use a clean soft brush or cloth on the sole edge, directing debris away from the upper. Grit becomes abrasive when rubbed under pressure or mixed into moisture. Clean tools prevent old polish or dye moving onto white rubber.
Support the shoe so the print does not rest against a wet or dirty surface. Remove laces only if doing so does not drag contamination across the upper.
Test a controlled spot
If the care instructions permit a mild method, test on a small inconspicuous section of the same sole material. Apply product to a cloth or tool rather than pouring it onto the shoe.
Use light passes and let the area dry before judging. A mark that remains after a cautious attempt may be wear, staining or material change rather than dirt that needs stronger treatment.
Keep residue away from the print
Work in short sections and wipe permitted residue with a separate lightly damp cloth. Do not let liquid pool at the join or wick into canvas. Change cloth areas rather than spreading grey residue along the sole.
Avoid bleach, strong solvent, abrasive paste and unverified household mixtures. A white surface does not make aggressive chemistry harmless to nearby colour or adhesive.
Dry and reassess honestly
Air dry away from direct heat and sun. Compare the whole pair in neutral light; excessive work on one shoe can create an uneven result. Stop before repeated friction changes the surface texture.
If separation, cracking, tackiness or colour movement appears, document it and seek material-specific advice. Cosmetic brightness should never be pursued at the cost of the shoe structure.