By Zapin MNL Style DeskPublished 6–8 minute read
Home measurement is a comparison tool, not a remote fitting service. Its value comes from using the same method for both feet and keeping the result tied to the exact chart you consult.
Measure later in the day while standing, use the socks intended for the shoe, record both feet and fit from the larger relevant measurement.
Prepare a stable setup
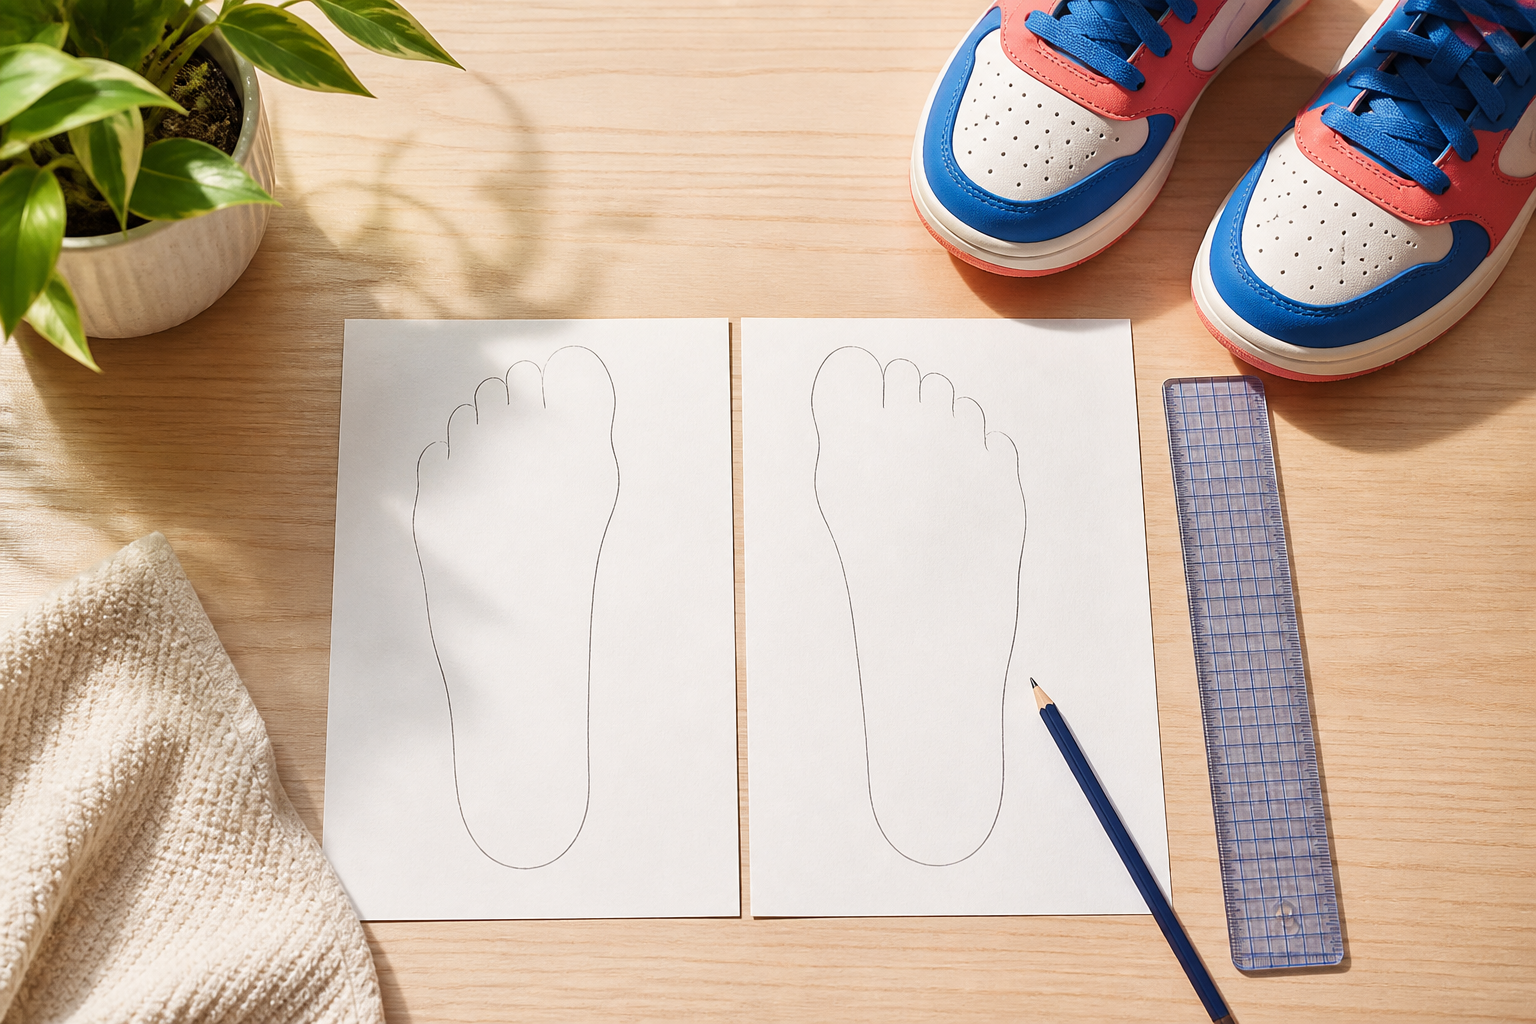
Use paper larger than each foot, a fine pencil, a straight wall and a rigid ruler. Wear the socks or tights planned for the shoe. Soft carpet and thick pencil angles can add enough error to confuse a close chart boundary.
Measure when your feet are at their ordinary daily size rather than immediately after waking. If swelling is unusual, painful or one-sided, seek appropriate professional advice instead of using a buying guide to interpret it.
Trace both feet while standing
Bradford NHS guidance recommends standing for length and width measurement and using the larger foot. Keep weight distributed normally and the pencil vertical so the outline does not flare outward.(Bradford District Care NHS footwear advice)
Mark the heel point, longest toe and widest points. The longest toe is not always the big toe. Repeat any line where the pencil moved away from the foot.
Convert the outline to useful numbers
Measure heel to longest toe on a straight line, then the widest forefoot span perpendicular to the foot axis. Record millimetres rather than rounding early. Date the result and label left and right.
Do not automatically add an allowance unless the exact chart tells you to. Some brands publish foot-length ranges while others publish internal dimensions, so adding space twice can create an oversized result.
Compare shape, not only length
Place the outline against top-view product images only as a rough visual check; photographs can distort scale and perspective. Look for a toe shape that follows your foot rather than tapering across it.
Width categories are not consistent across brands. If your measurement sits beyond the chart or the upper has a fixed seam at the widest point, ask for a product-specific recommendation.
Recheck after arrival
A measured recommendation still needs an indoor try-on. Wear both shoes, lace or fasten them properly and walk on a clean surface. The heel should feel secure without forcing the toes forward.
Keep the measurement record. If one style fails while another succeeds, note the exact model and size rather than concluding that all shoes with that number fit alike.